Showing posts with label pesarattu. Show all posts
Showing posts with label pesarattu. Show all posts
Wednesday, May 13, 2009
MOONG DAL INDIAN "CREPES"-- MADE ONLY WITH BEANS; NO FLOUR OR GRAIN

I'm really excited about these Indian "crepes" (called adai or pesarattu, made only from dal [dried legume] and un-fermented)-- they are made from beans!
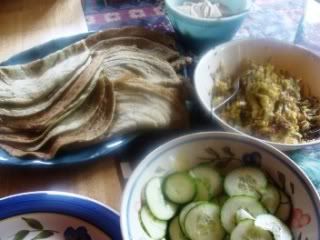
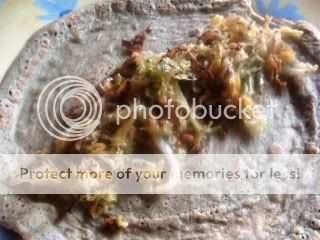
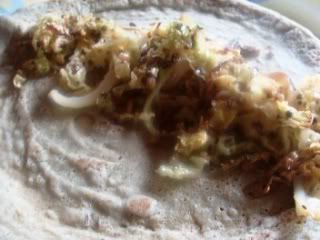
I have made dosa (another type of Indian "crepe") for years, but usually with some grain or flour in them, and usually with some oil in the pan. My experiment was to make them solely with soaked beans and with no more than a light spritz of oil in the pan. It was a success, and DH and my friend Holly gobbled them up. (For a filling, I used a simple cabbage stir-fry recipe from Madhur Jaffrey's World of Vegetarian Cooking, with some Tofu "Yogurt". You can use any vegan yogurt.)
We all remarked that this simple, delicious, nourishing, and filling meal was so inexpensive to make.

This experience has inspired me to try different kinds of Indian breads and dumplings that can be cooked in a nonstick pan, or steamed, using soaked beans, sprouted beans, bean flours, and even fresh corn. I'll let you know if I have any other successes.
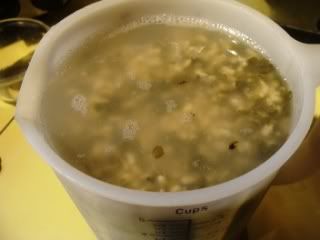
Last night I soaked some moong dal in water:
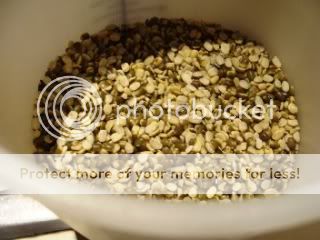
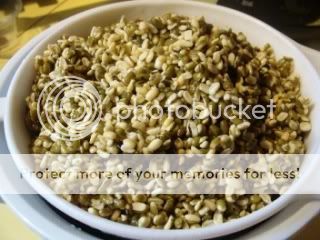
I used split moong dal, with the skins.Much later, I found my split washed moong dal
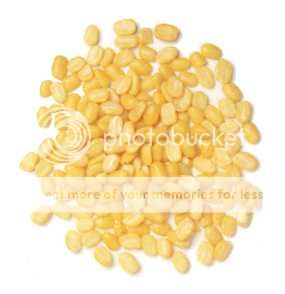
Washed moong dal
In the morning it looked like this and I had about 5 1/2 cups of soaked dal.
Here's the recipe:
Printable Recipe
BRYANNA'S MOONG DAL ADAI OR PESARATTU (INDIAN "CREPES" )
Servings: 12
These crepes are a type of Indian "crepe" that is made only from soaked, but not fermented, dal. These are actually a bit sturdier than the crepes we're used to, but they fold and roll nicely. You can eat them simply with chutney or an Indian-style vegetable stir-fry, or with a more elaborate vegetable curry, if you like. They can be eaten for breakfast, as a snack, or for a lunch or supper dish. (They would be great for a gluten-free diet, too.)
1 1/2 cups split moong dal
water to generously cover-- they really soak it up!
2 tablespoons (or more, according to taste) of fresh chopped green chilies (seeds removed-- or, cheat, as I did, and use pickled or canned jalapeño peppers)
1 piece (1-inch) fresh ginger, peeled
1 teaspoon salt
1/2 teaspoon cumin seed
water to thin the batter, as necessary (1/2 cup, at least)
The night before you are to make the adai, rinse and drain the dal and then place in a bowl or container with room to almost triple, and cover generously with water. The dal will soak up alot of water, so don't be stingy!
The day you are making the pancakes, make or assemble your filling(s) before starting to cook the adai.
Drain the water off the soaked dal and place it in a large high-speed blender container, along with the chilies, salt and ginger. In a Vita-Mix, you can grind the soaked beans, using the tamper, without extra water, but I don't think you could do this in cheaper blenders. In any case, I ended up adding water to the batter, so you are safe to add 1/2 cup of water to the batter when blending.
Blend the mixture until smooth, stopping and scraping down as necessary. Scoop the mixture into a bowl. Add the cumin seeds.
Now, adjust the thickness of the batter. If it's too thick, it won't spread easily. I kept stirring in water until it spread easily. I didn't measure, unfortunately, but the batter ended up like a regular Western crepe batter, more or less-- kind of like cream.
Spray a good-quality 8 to 10" nonstick skillet
With a good nonstick or well-seasoned skillet you may be able to cook these without using a spray pump with oil, but it depends on your pan. When cold water sprinkled on the pan sizzles, scoop about 1/4 cup of batter into the center of the pan with a small ladle and then use the bottom of the ladle to go in circles and spread the batter out from the center. It's easier than you might think! See the "action" pictures below (they are blurry, but give you the idea):
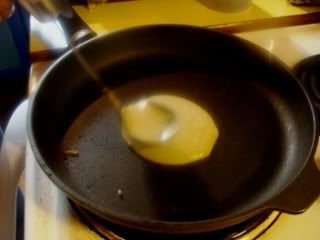

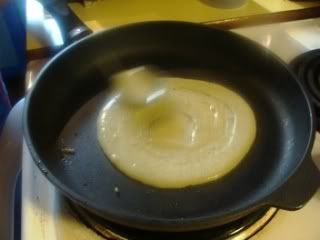
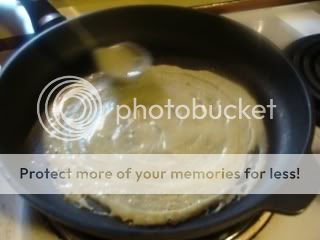

PS: if your batter doesn't spread easily, it may be too thick.
I turned the heat down just a notch or two from the "high" setting. Almost as soon as you have the batter spread, it will start looking a bit dry on top.
Carefully turn the adai and cook for a few seconds, then fold in half and lay on a platter with a clean tea towel over the adai.

Repeat until the batter is all used up. These can be refrigerated and reheated.
Nutrition Facts
Nutrition (per crepe): 90.8 calories; 3% calories from fat; 0.3g total fat; 0.0mg cholesterol; 166.5mg sodium; 327.7mg potassium; 16.4g carbohydrates; 4.3g fiber; 1.7g sugar; 12.1g net carbs; 6.2g protein; 1.0 points.
INSTRUCTIONS FOR SEASONING SKILLETS AND KEEPING THEM SEASONED , SO THAT THEY ARE VIRTUALLY NONSTICK:
Instructions for seasoning a carbon steel skillet here, here and here.
Instructions for seasoning a stainless steel skillet here and here.
Instructions for seasoning a cast iron skillet here.
If your cast iron skillet is really a mess, here is one way to restore it. If it is a rusty mess, it needs to be stripped and re-seasoned. I had an old pan like this and I did not want to use lye or oven cleaner to scrub it. I used the self-cleaning oven method described at the beginning of this article. This treatment stripped it right down to the grey iron. Then I did thorough oven-seasoning-- rub oil on all parts of the pan, including the handle; make sure there is no dripping oil; bake at about 350 degrees F for 1 hour; cool completely; repeat 3 more times. This may seem excessive, but you can do it when you are baking something at the same time, and the pan was like new!
To keep your cast iron pans well-seasoned, after cooking, add some HOT water to the pan (do not use cold) and let them soak for a few minutes. Then clean with a scrub brush (no stainless steel scrubbers, please!). Anything is stuck, use the edge of a plastic (not metal) dough scraper or the special polycarbonate pan scraper that Lodge sells for this purpose:

PS: You do not need to use an expensive oil like flax oil, or even coconut oil. Your favorite neutral smelling/tasting oil will do just fine.
Enjoy!

Subscribe to:
Posts (Atom)